
Ultimate Craft Transfer Paper Guide
The world of DIY apparel is expanding rapidly. If you love creating custom gear, understanding Craft Transfer Paper is essential. It is the bridge between your digital art and a physical product. While there are many types of paper, modern technology has introduced more durable options.
Today, DTF Printing Transfer is leading the way in the craft world. It offers better color, better feel, and longer life. This guide will help you navigate your options for the best results.
What is Craft Transfer Paper?
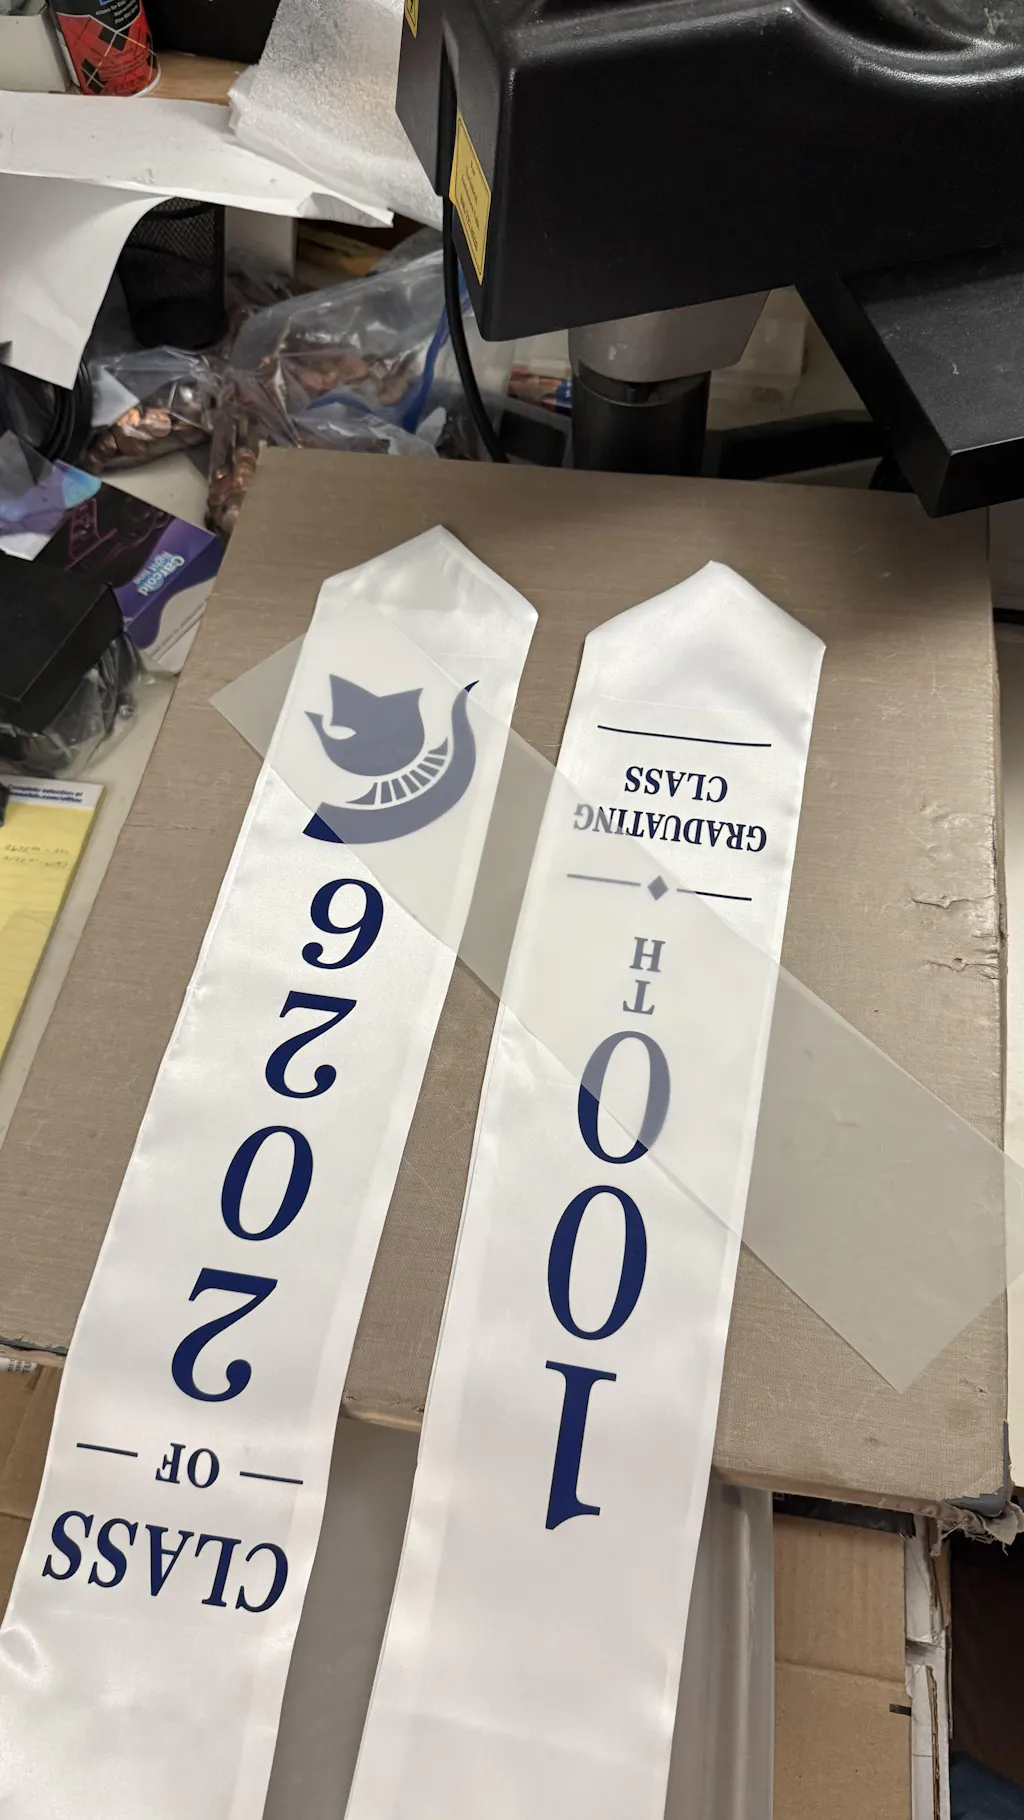
Transfer paper is a specialized medium used to move designs onto fabric. Historically, crafters used "iron-on" papers for inkjet printers. These were easy but often cracked after one wash.
Modern crafters are now switching to professional-grade solutions. Using high-quality
Types of Transfer Media for Crafters
Choosing the right media depends on your project goals and equipment. Here are the most popular choices:
-
Standard Inkjet Paper: Great for one-time events like birthdays. It is cheap but lacks durability.
-
Sublimation Paper: Best for white polyester. It dyes the fabric but doesn't work on dark cotton.
-
DTF Transfer Film: The ultimate choice for all colors and fabrics. It works on cotton, polyester, and even wood.
-
Glitter and Specialty Media: Perfect for holiday crafts or eye-catching designs.
Why Choose DTF Over Traditional Paper?
Many hobbyists are upgrading their setups. The benefits of moving toward a DTF Printing Transfer system are clear:
-
Vibrant Colors: The ink stays on top of the fabric for maximum pop.
-
Soft Feel: It doesn't feel like a heavy sticker on your chest.
-
Versatility: You can print on black, white, or neon fabrics.
-
Stretchability: The design moves with the shirt and won't crack when you wear it.
Step-by-Step Guide to Success
Getting the perfect transfer requires a specific workflow. Follow these steps to ensure your craft project looks professional.
1. Prepare Your Design
Use high-resolution images (300 DPI). If you aren't sure about the dimensions, check our
2. Print with Quality Ink
Always use
3. Apply the Adhesive
Dust your wet print with adhesive powder. Ensure the design is fully covered, then shake off the excess.
4. The Heat Press Stage
Place your transfer on the garment. Press at 160°C for 15 seconds. Let it cool completely before peeling for a smooth, sharp look.
Essential Tips for Longevity
A great craft project should last. To keep your transfers looking new, follow these simple rules:
-
Wait Before Washing: Give the bond 24 hours to set.
-
Turn Inside Out: Protect the design from the washing machine drum.
-
Avoid High Heat: Air dry or use a low tumble setting.
Join Our Creative Community
We love seeing what crafters create. We share tips, new techniques, and inspiration daily across our platforms. Connect with us:
-
Watch Tutorials:
YouTube -
See New Designs:
Instagram -
Get Quick Inspiration:
TikTok -
Join the Conversation:
Facebook
Conclusion: Elevate Your Craft Today
Choosing the right Craft Transfer Paper or film is the first step to success. By using professional materials like premium
Don't settle for prints that fade. Upgrade your craft game and create custom apparel that people will actually want to wear for years to come!
Leave a Comment