DTF transfer film is one of the most important parts of the Direct-to-Film printing process. It is the surface where your design is printed before being transferred onto fabric. Understanding how to use it correctly will directly affect your print quality.
This guide explains everything in simple steps. Sentences are short. Paragraphs are easy to read.
What is DTF Transfer Film?
DTF transfer film is a specially coated PET film used in Direct-to-Film printing. It holds the printed design before it is transferred onto fabric using heat and pressure.
This process is part of Digital textile printing, where designs are applied to textiles using ink-based methods.
The film has a coated side. This side is designed to hold ink and adhesive powder properly. Using the wrong side will ruin your print.
Why DTF Film Matters
DTF film plays a critical role in the printing process.
It affects:
- Color vibrancy
- Adhesion strength
- Print durability
- Ease of peeling
High-quality film ensures consistent results. Low-quality film leads to cracking, peeling, or faded prints.
If you want ready-to-use solutions instead of producing everything yourself, you can explore Fast DTF Transfer for professional-grade options.
Types of DTF Transfer Film
Not all DTF films are the same. Choosing the right type is important.
Cold Peel Film
This type requires the print to cool down before peeling.
Advantages:
- Strong adhesion
- Clean finish
- Better durability
Hot Peel Film
This film can be peeled immediately after pressing.
Advantages:
- Faster workflow
- Good for bulk production
Matte vs Glossy Film
Matte film is more popular. It prevents ink spreading and improves detail clarity.
Glossy film is less common and can sometimes affect powder adhesion.
What You Need Before Using DTF Film
Preparation is key for good results.
Essential Materials
- DTF transfer film
- DTF inks (CMYK + White)
- Adhesive powder
- Heat press machine
- Fabric or garment
If you prefer skipping production steps, you can directly order ready prints from DTF Transfer Collection.
Step-by-Step: How to Use DTF Transfer Film
Each step must be followed carefully. Small mistakes can reduce print quality.
Step 1: Identify the Coated Side
DTF film has two sides.
- One side is coated
- One side is plain
Always print on the coated side.
Quick tip:
- Slightly scratch the surface
- The sticky side is the coated side
Printing on the wrong side will cause ink to slide off.
Step 2: Print Your Design
Load the film into your printer.
Make sure:
- The coated side is facing the print head
- The design is mirrored
- Resolution is set to 300 DPI
Printing order is important:
- First print CMYK colors
- Then print white ink layer
This layering ensures vibrant colors on all fabrics.
Step 3: Apply Adhesive Powder
Immediately after printing, apply adhesive powder.
Steps:
- Sprinkle powder over wet ink
- Cover all printed areas
- Shake off excess powder
The powder must be applied evenly.
Too much powder can make the design stiff. Too little powder can cause weak adhesion.
Step 4: Cure the Film
Curing melts the adhesive powder and bonds it to the ink.
You can use:
- Heat press (hover method)
- Curing oven
Typical settings:
- Temperature: 160–170°C
- Time: 2–3 minutes
Make sure the powder melts evenly. Uneven curing leads to poor transfer.
Step 5: Prepare the Fabric
Before pressing, prepare the garment.
- Remove moisture with a pre-press (5 seconds)
- Smooth out wrinkles
- Place garment flat
This ensures better adhesion.
Step 6: Heat Press the Film
Place the film on the fabric.
Then apply heat:
- Temperature: 150–165°C
- Time: 15–20 seconds
- Pressure: Medium
Do not move the film during pressing.
Consistent pressure is important.
Step 7: Peel the Film
Peeling depends on the film type.
- Cold peel → wait until fully cool
- Hot peel → peel immediately
Peel slowly and evenly.
If the design lifts, it means pressure or temperature was incorrect.
Step 8: Final Press
After peeling, perform a second press.
- 5–10 seconds
- Use parchment paper or Teflon sheet
This step improves:
- Durability
- Wash resistance
- Softness
Complete Workflow Overview
The entire process can be summarized simply:
Print → Powder → Cure → Press → Peel → Final Press
Each step must be consistent for professional results.
Common Mistakes to Avoid
Even small errors can affect your prints.
Printing on Wrong Side
This is one of the most common mistakes.
Uneven Powder Application
Leads to patchy or weak designs.
Incorrect Heat Settings
Too low = peeling
Too high = damage
Skipping Final Press
Reduces durability.
Poor Film Quality
Always use reliable film.
Pro Tips for Better Results
Improving your workflow will increase quality.
- Store film in a dry environment
- Avoid touching coated surface
- Shake white ink regularly
- Clean printer heads often
- Test before bulk production
Consistency is the key to success.
How to Choose the Right DTF Film
Choosing the right film depends on your needs.
Consider:
- Peel type (hot or cold)
- Finish (matte or glossy)
- Thickness
- Compatibility with your printer
For beginners, matte cold peel film is often the best choice.
When to Use Ready-Made DTF Transfers
Producing your own transfers takes time and effort.
If you want faster results, ready-made transfers are a better option.
You can order high-quality prints from Fast DTF Transfer.
Benefits include:
- No equipment needed
- Consistent quality
- Time-saving
- Ideal for scaling
Advantages of Using DTF Film
DTF film offers many benefits.
- Works on all fabrics
- Produces vibrant colors
- Durable and flexible
- No weeding required
- Suitable for complex designs
This makes it one of the most versatile printing methods.
Limitations of DTF Film
Despite its advantages, there are some limitations.
- Requires proper equipment
- Needs maintenance
- Learning curve for beginners
- White ink management
Understanding these helps you avoid frustration.
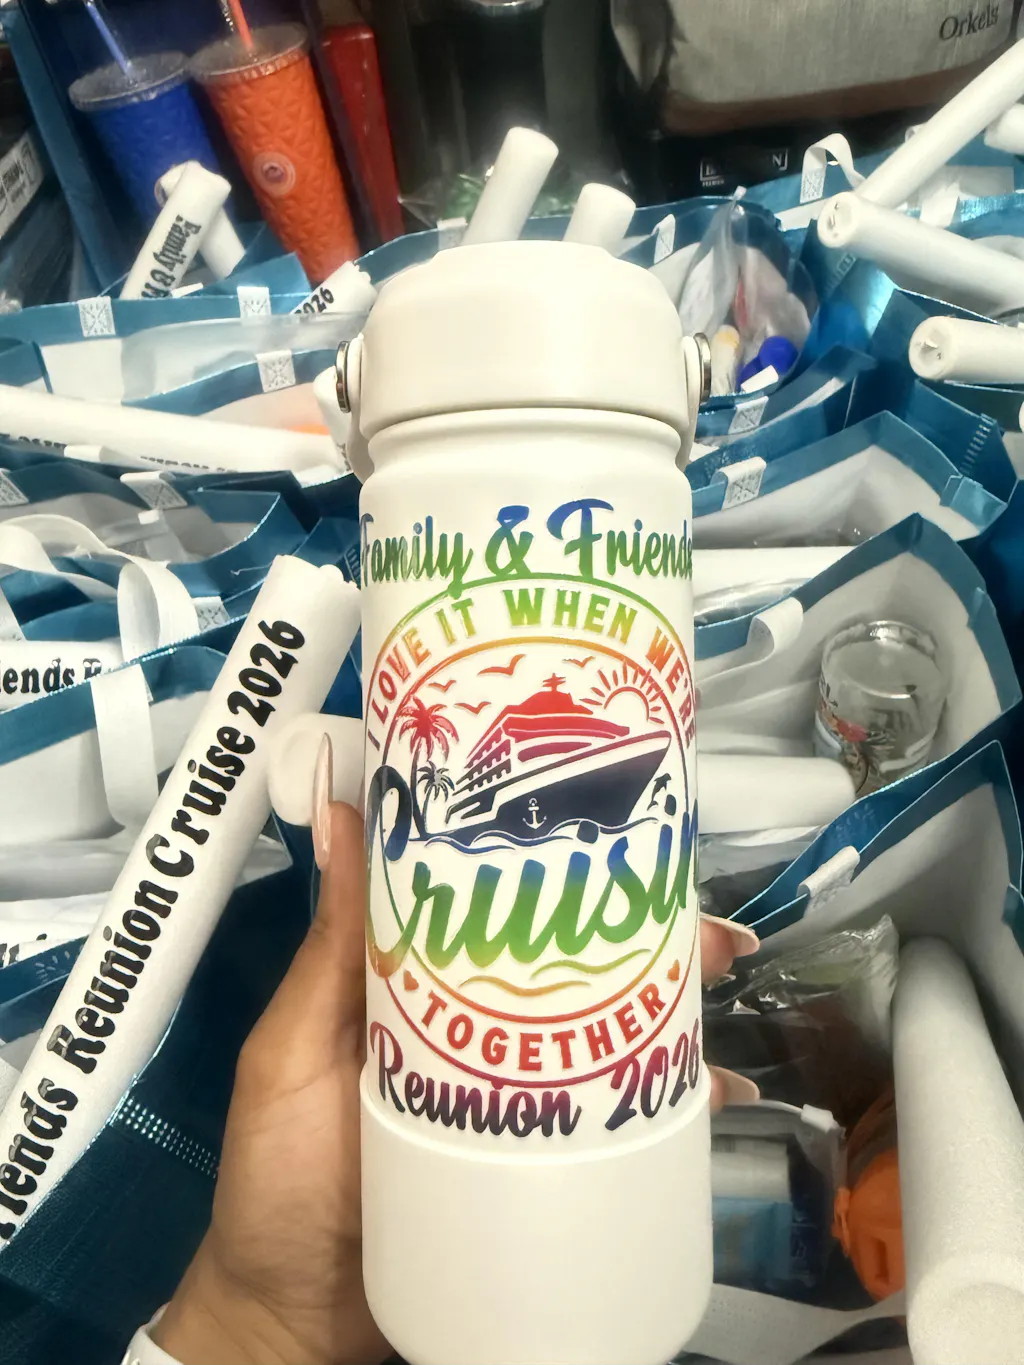
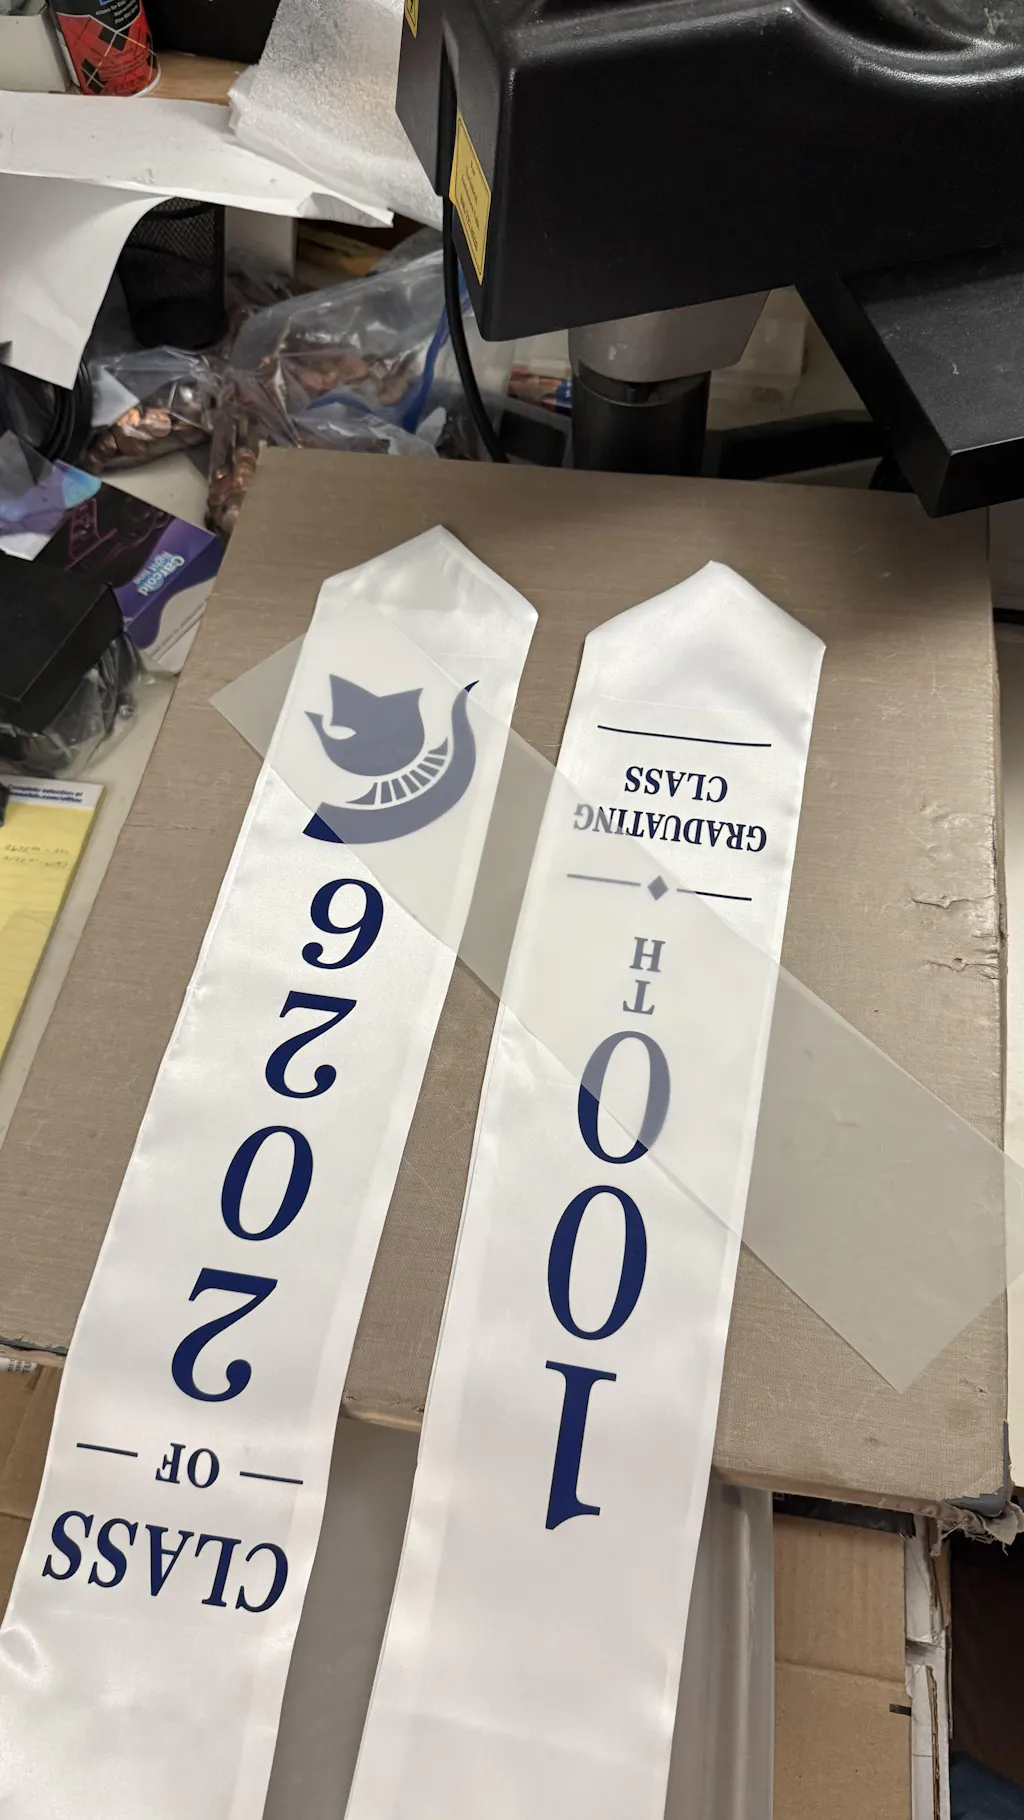
Real-World Applications
DTF transfer film is used across many industries.
Common applications include:
- Custom t-shirts
- Hoodies
- Tote bags
- Workwear
- Promotional products
It works on cotton, polyester, and blends.
Maintenance Tips
Maintaining your materials improves results.
- Keep film sealed when not in use
- Store in low humidity
- Avoid dust exposure
- Use fresh adhesive powder
Proper storage extends shelf life.
Final Thoughts
DTF transfer film is a key part of the printing process. Using it correctly ensures high-quality, durable prints.
Success depends on:
- Correct technique
- Quality materials
- Consistent workflow
If you want to simplify your process, using ready-made transfers from DTF Transfer Collection can save time and improve efficiency.