Direct-to-Film printing is changing how custom apparel is produced. It allows small businesses and creators to print high-quality designs without investing in expensive industrial systems. Even a modified inkjet printer can be used to get started.
This guide explains the full process step by step. Sentences are clear. Paragraphs are short and easy to follow.
What is DTF Printing?
DTF stands for Direct-to-Film printing. It is a method where a design is printed onto a special film and then transferred onto fabric using heat.
The process is closely related to Digital textile printing, which explains how ink-based systems apply designs directly to textiles.
In simple terms:
- The design is printed on PET film
- Adhesive powder is applied
- Heat activates the adhesive
- The design is transferred onto fabric
This technique works on cotton, polyester, and blended fabrics.
Why Use an Inkjet Printer for DTF?
Traditional DTF printers can be expensive. That is why many beginners start with a converted inkjet printer.
This approach offers flexibility and lower cost.
It is ideal for testing designs and starting a small printing business. However, a standard inkjet printer must be modified to handle DTF inks and white ink layers.
For businesses that want ready-to-use solutions instead, many choose to order transfers directly from Fast DTF Transfer to save time and avoid setup complexity.
What You Need to Get Started
Using the correct materials is essential. Poor-quality supplies will affect your results.
Essential Equipment
- Inkjet printer (converted for DTF)
- DTF inks (CMYK + White)
- PET transfer film
- Adhesive powder
- Heat press machine
If you are building your setup, you can explore professional-grade tools from DTF Equipment Collection.
Each component plays a critical role in the final print quality.
Understanding Inkjet Printer Limitations
A regular inkjet printer is not designed for DTF printing.
There are several reasons:
- It does not support white ink by default
- Standard inks are not compatible with transfer films
- The print system is not optimized for layered printing
DTF requires a white ink base layer. This is what makes designs vibrant on dark fabrics.
Because of this, most users convert printers like Epson EcoTank models for DTF use.
Step-by-Step: How to Make DTF Transfers
The process must be followed carefully. Each step affects the final result.
Step 1: Create Your Design
Start with a high-resolution design.
Best practices include:
- Use 300 DPI resolution
- Keep background transparent
- Work in RGB color mode
- Mirror the design before printing
Design quality directly impacts print clarity.
Step 2: Print on DTF Film
Load the PET film into your printer.
Make sure to print on the coated side.
The printing process follows a specific order:
- First CMYK colors
- Then white ink layer
This layering system ensures strong color output.
Step 3: Apply Adhesive Powder
After printing, apply adhesive powder immediately.
Steps:
- Sprinkle powder evenly
- Cover all printed areas
- Shake off excess powder
The powder acts as a bonding agent during heat transfer.
Step 4: Cure the Transfer
Curing melts the adhesive powder and bonds it to the ink.
Typical curing settings:
- Temperature: 160–170°C
- Time: 2–3 minutes
You can use a curing oven or hover a heat press over the film.
Step 5: Heat Press onto Fabric
Place the film onto the garment.
Press using:
- Temperature: around 160°C
- Time: 15–20 seconds
- Medium pressure
This step transfers the design permanently.
Step 6: Peel the Film
Allow the design to cool slightly.
Then peel the film carefully.
Depending on the film type, you may use a cold peel or warm peel method.
Step 7: Final Press
Do a second press for better durability.
- 5–10 seconds
- Improves softness
- Enhances adhesion
This step helps extend the life of the print.
Workflow Summary
The full process is simple when broken down:
Design → Print → Powder → Cure → Press → Peel
Consistency is key. Small mistakes can affect the final quality.
Common Mistakes to Avoid
Many beginners face similar issues.
Wrong Ink
Using regular inkjet ink will not work.
Uneven Powder
This leads to weak adhesion.
Incorrect Temperature
Too low causes peeling. Too high damages fabric.
Skipping White Ink
Colors will appear dull on dark garments.
Low-Quality Design
Blurry artwork leads to poor prints.
Pro Tips for Better Results
Improving your workflow will increase quality.
- Use high-quality films
- Store materials in low humidity
- Shake white ink regularly
- Clean printer heads often
- Test before production
DTF printing requires consistency and control.
Inkjet vs Professional DTF Printer
Choosing the right setup depends on your goals.
Inkjet Setup
Pros:
- Affordable
- Good for beginners
- Flexible for small projects
Cons:
- Requires modification
- Slower production
- More maintenance
Professional DTF Printer
Pros:
- Faster production
- Consistent results
- Built for scaling
Cons:
- Higher cost
- Requires experience
If you want to scale without handling production, you can order ready-made prints from DTF Transfers Collection.
Cost Breakdown
Starting with an inkjet DTF setup typically includes:
- Printer conversion: $300–$800
- Heat press: $200–$500
- Supplies: $100–$300
Total estimated cost: $600–$1500
This makes it accessible for beginners.
When Should You Avoid DIY?
DIY DTF is not always the best choice.
Avoid it if:
- You need large-scale production
- You want minimal maintenance
- You prefer faster turnaround
In such cases, outsourcing to professional services is more efficient.
Real-World Applications
DTF printing is widely used in many industries.
Common uses include:
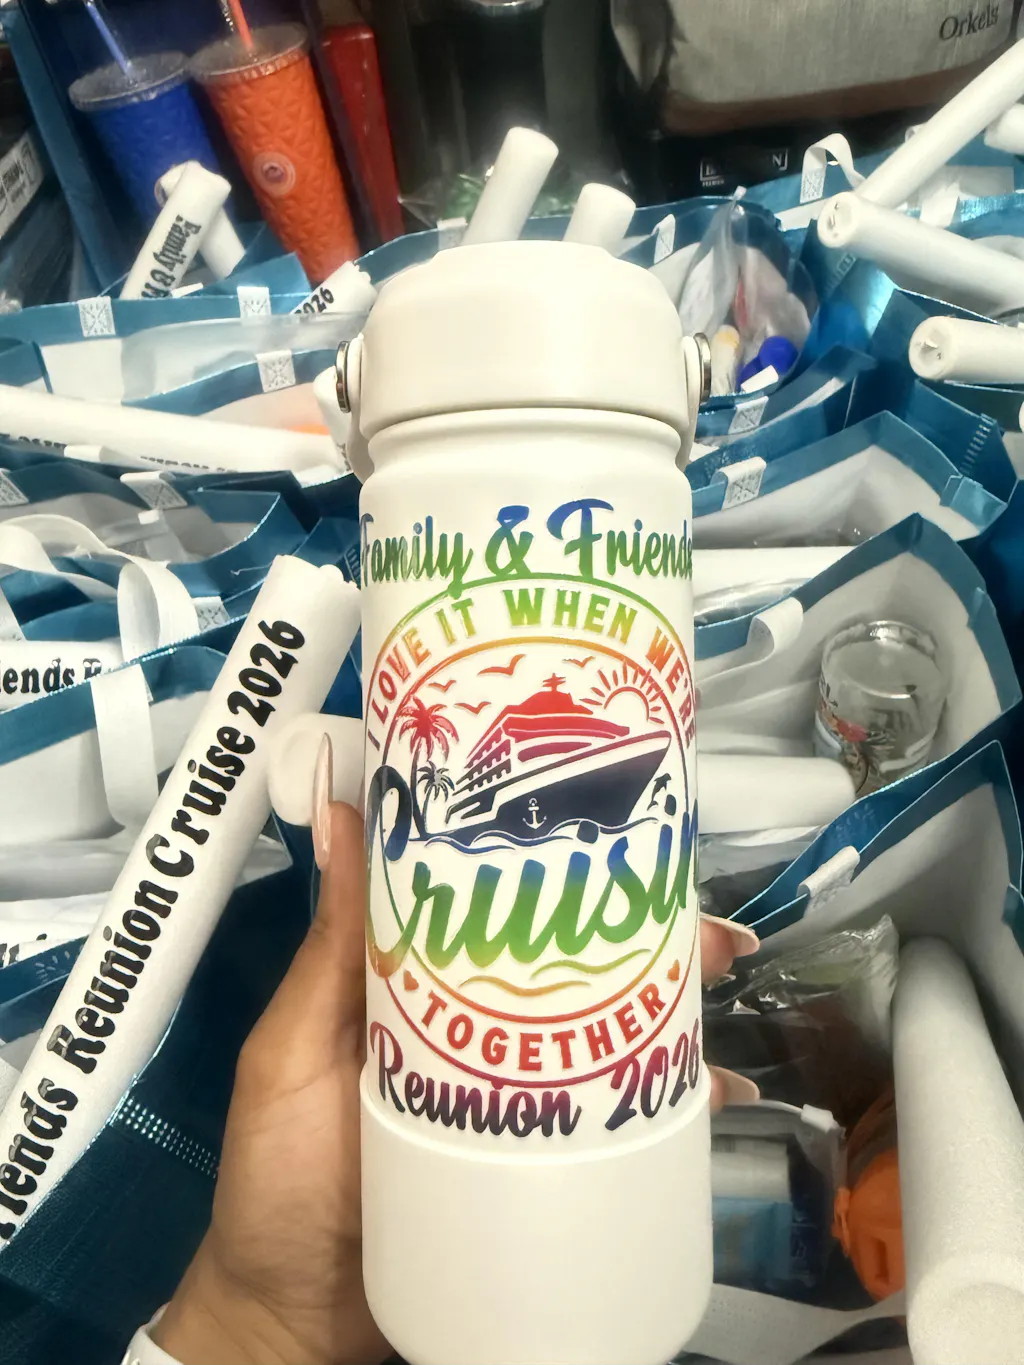
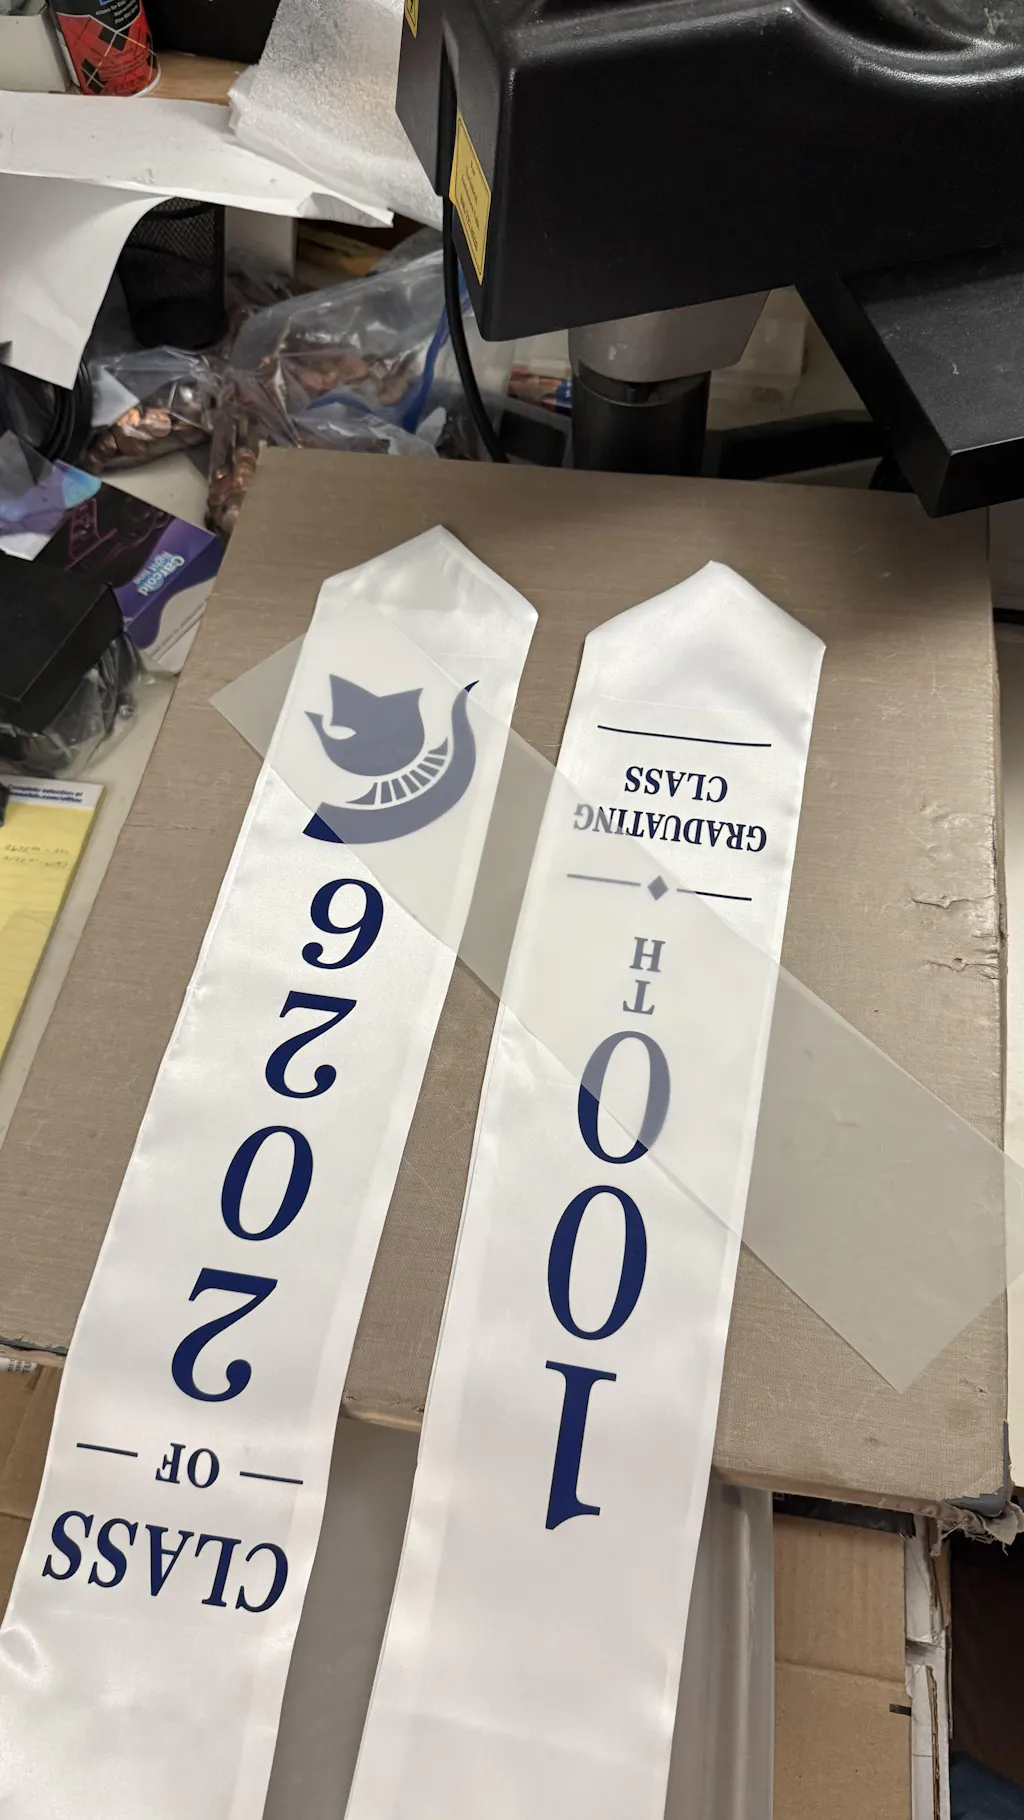
- T-shirt printing
- Hoodies and sweatshirts
- Tote bags
- Sportswear
- Promotional products
It works on almost all fabric types.
Final Thoughts
DTF transfers made with an inkjet printer offer a powerful entry point into custom printing. It is affordable and flexible.
However, success depends on:
- Using the right materials
- Following each step correctly
- Maintaining your equipment
If you want a faster and more scalable approach, working with professional providers like Fast DTF Transfer can save time and ensure consistent quality.
FAQ
Can I use a regular inkjet printer?
No. It must be converted for DTF use.
Do I need white ink?
Yes. White ink is essential for printing on dark fabrics.
Is DTF better than sublimation?
DTF works on more fabrics. Sublimation is limited to polyester.
How long do DTF prints last?
With proper application, they are highly durable and resistant to washing.