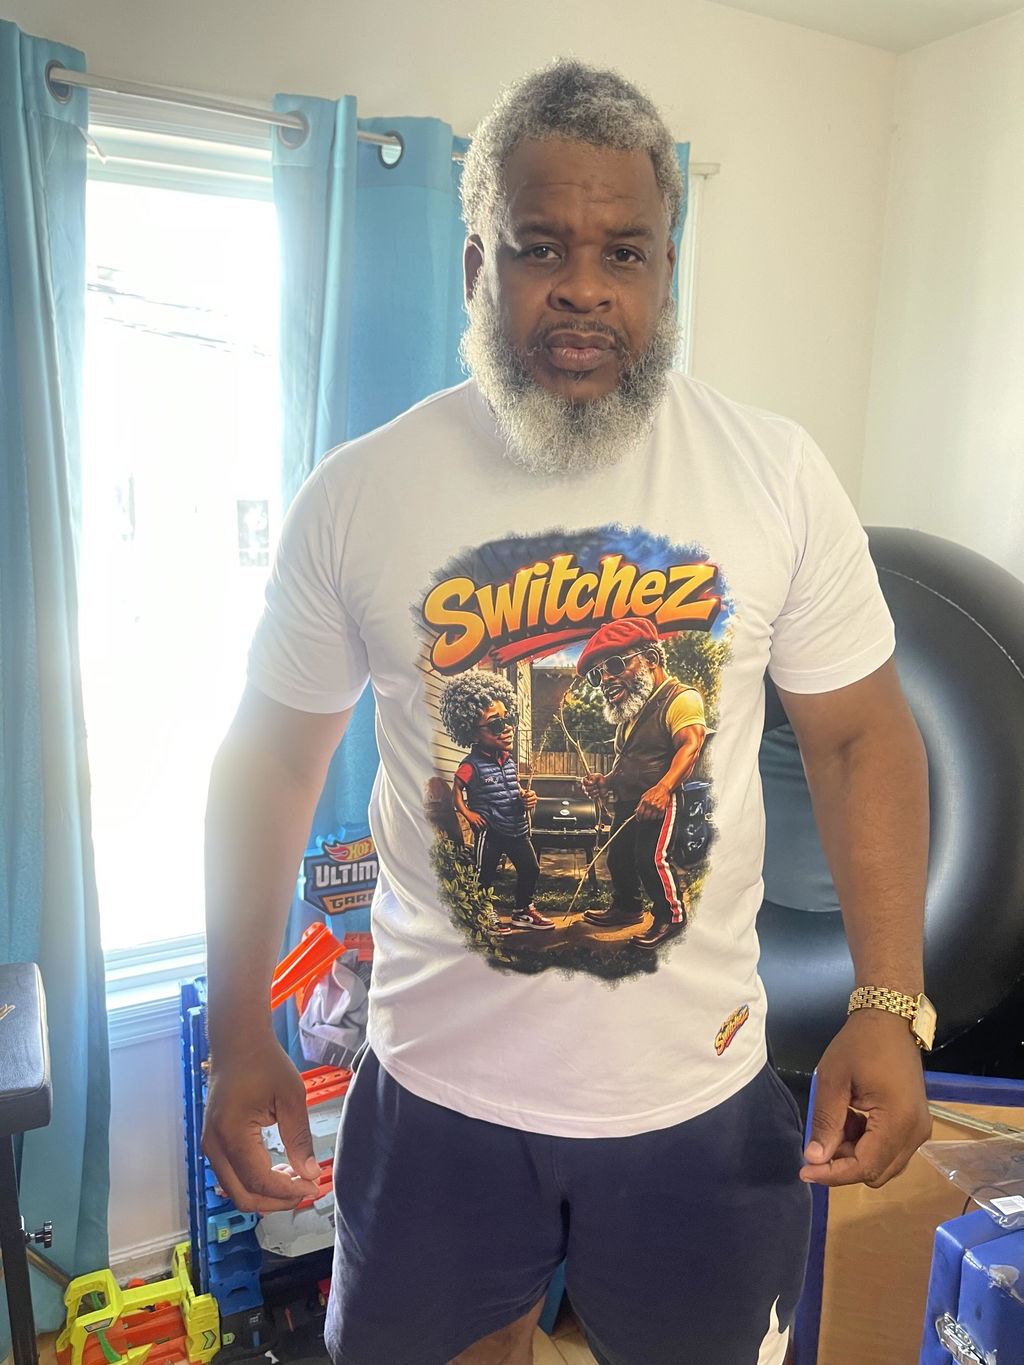
DTF transfers for T-shirts and hoodies offer a flexible way to produce vibrant, detailed, and professional custom apparel. They can be used for business logos, clothing brand graphics, team uniforms, event merchandise, personalized gifts, and short-run apparel orders.
However, professional results depend on more than placing a transfer on a garment and closing a heat press. Artwork quality, transfer size, garment preparation, placement, pressure, temperature, peeling, and post-press care can all affect the finished print.
This complete guide explains how to select, position, and apply custom transfers to shirts and hoodies. You can order professionally prepared DTF transfers by size from Fast DTF Transfer for individual logos, chest prints, sleeve designs, and larger apparel graphics.
Suggested Image: Professional DTF transfers, blank T-shirts, hoodies, a heat press, and completed custom apparel arranged in a clean print studio.
Alt Text: DTF transfers for T-shirts and hoodies application guide
What Are DTF Transfers?
DTF stands for direct-to-film. In this process, artwork is printed onto a coated transfer film, covered with adhesive powder, cured, and later applied to fabric with heat and pressure.
The printing system can reproduce full-color artwork, gradients, photographs, fine details, and white ink elements. This makes it suitable for both light and dark garments.
You can learn more about the basic production method through this overview of direct-to-film printing.
Unlike decoration methods that may be limited to certain fabric colors or fiber types, DTF transfers are commonly used on cotton, polyester, blends, fleece, denim, and many other apparel materials.
Why Use DTF Transfers for T-Shirts and Hoodies?
T-shirts and hoodies are among the most popular garments for custom printing. DTF transfers provide several practical advantages for these products.
Vibrant Full-Color Results
DTF transfers can reproduce colorful artwork, gradients, shadows, text, and small design elements. A white ink layer helps colors remain visible on dark shirts and hoodies.
Works on Different Fabric Types
DTF transfers can be used on cotton shirts, polyester performance apparel, cotton-polyester blends, fleece hoodies, and other compatible fabrics.
Suitable for Small and Large Orders
You can order one design for a personalized garment or prepare transfers for larger apparel production. This makes the process useful for individuals, startups, clothing brands, teams, and professional print shops.
No Complex Weeding
Full-color DTF transfers do not normally require the detailed weeding process associated with layered heat transfer vinyl. The finished transfer arrives ready to position and press.
Flexible Placement Options
DTF transfers can be used for:
- Left-chest logos
- Center-chest graphics
- Full-front designs
- Full-back prints
- Sleeve graphics
- Neck labels
- Pocket-area logos
- Hood prints
- Pant-leg transfers
Browse Fast DTF Transfer to explore custom transfer options for different apparel projects.
DTF Transfers for T-Shirts vs. Hoodies
The general application process is similar, but T-shirts and hoodies have different construction, thickness, and placement considerations.
| Factor | T-Shirts | Hoodies |
|---|---|---|
| Fabric thickness | Usually thinner and flatter | Usually thicker, often fleece-lined |
| Pressing surface | Relatively smooth | May include seams, pockets, and zippers |
| Common placements | Chest, back, sleeve, neck label | Chest, back, sleeve, hood, pocket area |
| Pressure considerations | Usually easier to press evenly | May require a pressing pillow or pad |
| Placement challenges | Neckline alignment | Pocket, zipper, drawstring, and seam alignment |

How to Choose the Correct DTF Transfer Size
The correct transfer size depends on the garment, design proportions, print location, and intended visual effect.
Always measure the actual print area before placing an order. Generic sizing charts can provide a starting point, but garment dimensions vary between brands and styles.
Common T-Shirt Transfer Sizes
- Small chest logo: approximately 3 to 4.5 inches wide
- Youth front design: approximately 7 to 9 inches wide
- Adult front design: approximately 9 to 12 inches wide
- Large back design: approximately 10 to 13 inches wide
- Sleeve transfer: approximately 2.5 to 4 inches wide
- Neck label: approximately 2 to 3.5 inches wide
Common Hoodie Transfer Sizes
- Left-chest logo: approximately 3.5 to 5 inches wide
- Front design above a pocket: approximately 8 to 11 inches wide
- Full-back hoodie design: approximately 10 to 13 inches wide
- Sleeve graphic: approximately 3 to 15 inches long
- Hood graphic: size based on available panel area
These are general examples rather than universal requirements. Use the DTF transfers by size ordering option to select dimensions that match your specific garment and placement.
How to Prepare Artwork for DTF Transfers
The quality of the finished garment begins with the artwork file. Poor-quality images cannot be fully corrected during printing.
Use High-Resolution Artwork
Use the highest-quality source file available. Artwork should appear sharp at the final physical print size, not only when displayed as a small image on a screen.
Remove Unwanted Backgrounds
Use a transparent background unless a colored or white background is intentionally part of the design. A visible rectangle around the artwork may print if it remains inside the file.
Check Fine Details
Inspect small text, thin lines, distressed textures, isolated dots, and narrow design elements. Extremely small or delicate details may not transfer as reliably as larger, clearly defined artwork.
Confirm Colors
Screen colors may not match printed colors exactly. Monitor settings, artwork color profiles, inks, and garment colors can all influence the final appearance.
Check Spelling and Personalization
Review names, numbers, dates, slogans, and contact information before ordering. Treat the submitted artwork as the final production file.
Tools Needed to Apply DTF Transfers
Prepare your workspace before starting. Common tools include:
- Professional heat press
- DTF transfer
- Blank T-shirt or hoodie
- Lint roller
- Heat-resistant tape when needed
- Pressing pillow or pad
- Protective parchment or finishing sheet
- Garment placement ruler
- Scissors for separating gang sheet designs
A household iron may not provide the consistent temperature, pressure, and surface coverage required for dependable professional results. A properly calibrated heat press is usually the better option.

How to Apply DTF Transfers to T-Shirts
Step 1: Inspect the Shirt
Check the garment for stains, wrinkles, dust, lint, or manufacturing defects. Confirm that the shirt size and color match the customer order.
Step 2: Prepare the Heat Press
Set the press according to the application instructions supplied with your transfer. Temperature, pressing time, pressure, and peeling method can differ between transfer products.
Do not assume that one setting works for every DTF transfer or garment.
Step 3: Pre-Press the T-Shirt
Place the shirt flat on the lower platen and pre-press it briefly when recommended. This can help remove surface moisture and wrinkles while creating a smoother pressing area.
Step 4: Position the Transfer
Align the design according to the neckline, center line, and intended print location. Use a garment ruler or folded center line to improve consistency.
For a centered adult front graphic, the top of the design is commonly positioned several inches below the collar, but the exact placement should depend on the garment style and artwork height.
Step 5: Press the Transfer
Place the transfer with the printed side facing the fabric. Close the heat press and apply the recommended temperature, pressure, and time.
Make sure the entire design remains within the heated pressing area.
Step 6: Peel the Carrier Film
Peel the film according to the transfer instructions. Depending on the product, the carrier may require hot, warm, or cold peeling.
Peeling too early or too late can affect adhesion, especially around fine details.
Step 7: Complete the Finishing Press
When recommended, cover the design with the appropriate finishing sheet and press it again briefly. The finishing press can help improve adhesion and surface texture.
How to Apply DTF Transfers to Hoodies
Hoodies require additional preparation because thick fleece, pockets, seams, drawstrings, and zippers can prevent even pressure.
Step 1: Identify Raised Areas
Examine the hoodie for:
- Kangaroo pockets
- Zippers
- Thick seams
- Drawstrings
- Hood overlap
- Labels or interior reinforcements
The transfer should be pressed on a flat, stable surface without raised construction details interfering with pressure.
Step 2: Use a Pressing Pillow When Needed
Insert a pressing pillow or pad inside the hoodie to raise the print area above nearby seams and pockets. This helps create more even contact between the transfer and the heat press.
Step 3: Pre-Press the Hoodie
Pre-press the selected area when recommended to reduce moisture, flatten the fleece, and prepare the surface.
Step 4: Position the Design Carefully
For hoodies with kangaroo pockets, place the front design high enough that it does not overlap the pocket seam. Check the visual spacing between the neckline, graphic, and pocket.
For zip-up hoodies, consider using two separate transfer sections or a design specifically prepared for the zipper gap.
Step 5: Apply Even Pressure
Thicker garments may affect the pressure setting. Confirm that the press closes evenly and that the transfer receives consistent heat across the full design.
Step 6: Peel and Finish
Follow the supplied peel method and complete a finishing press when instructed. Inspect the edges, fine details, and large solid areas before removing the garment from the workstation.

DTF Transfer Placement Guide
Left-Chest Placement
Left-chest logos are commonly used for uniforms, businesses, teams, and branded apparel. Position the design based on the wearer's left side rather than the viewer's left.
Avoid placing the logo too close to the armpit, neckline, or center of the garment.
Center-Chest Placement
Center-chest graphics should be aligned with the vertical center of the garment. Consider the design height when determining the distance from the collar.
Full-Front Placement
Large front designs should remain visually balanced between the neckline and lower garment area. On hoodies, make sure the design does not interfere with the kangaroo pocket.
Full-Back Placement
Back graphics should be centered between the side seams. The design should generally begin below the neckline seam rather than directly against it.
Sleeve Placement
Place sleeve transfers so they follow the intended orientation when the garment is worn. Confirm whether the design should face outward, forward, or toward the wearer.
Hood Placement
Hood prints require careful sizing because the fabric folds when worn. Test the placement on the actual hoodie style before starting a large production run.
Recommended Heat Press Settings
There is no single universal setting for every DTF transfer. Settings can vary according to:
- Transfer film
- Adhesive powder
- Garment fabric
- Fabric thickness
- Heat press model
- Pressure calibration
- Peel method
Always use the instructions provided with your transfer order. When working with a new garment or unfamiliar fabric, perform a test press before beginning full production.
How to Apply Glitter DTF Transfers
Glitter DTF transfers add a sparkling finish to apparel designs while maintaining the flexibility of ready-to-press transfer application.
They are commonly used for:
- Fashion apparel
- Dance team clothing
- Cheer uniforms
- Birthday shirts
- Holiday garments
- Event merchandise
- Statement hoodies
- Personalized gifts
Because specialty transfers may have different application requirements, always follow the pressing and peeling instructions supplied with the glitter transfer.
Suggested Image: Black T-shirt and hoodie decorated with sparkling full-color glitter DTF transfers under bright studio lighting.
Alt Text: Glitter DTF transfers applied to T-shirts and hoodies
Common DTF Application Problems
The Transfer Does Not Stick
Possible causes include insufficient pressure, incorrect temperature, short pressing time, moisture in the garment, or peeling before the transfer is ready.
Edges Begin to Lift
Edge lifting may result from uneven pressure, raised seams, incorrect peeling, or inadequate finishing pressure.
The Design Looks Faded
Faded results may be related to low-quality artwork, incorrect transfer production, excessive heat, or an unsuitable finishing process.
The Film Is Difficult to Peel
Confirm whether the transfer requires hot, warm, or cold peeling. Allow additional cooling time when necessary rather than forcing the carrier away from the design.
The Design Has Press Marks
Excessive temperature, pressure, or pressing time can create visible marks on some fabrics. Heat-sensitive polyester and specialty garments should be tested carefully.
The Hoodie Has Uneven Adhesion
Thick seams, pockets, and zippers may prevent consistent pressure. Use a pressing pillow or reposition the garment so the print area remains level.
How to Wash and Care for DTF-Printed Apparel
Proper care can help maintain the color, flexibility, and adhesion of a DTF print.
- Allow the garment to rest before the first wash according to the supplier's recommendation.
- Turn the garment inside out before washing.
- Use cold or moderate water temperatures.
- Choose a gentle washing cycle.
- Avoid harsh bleach and aggressive chemicals.
- Use low-temperature drying when appropriate.
- Avoid ironing directly over the printed design.
- Do not dry-clean unless the transfer and garment are approved for it.
DTF Transfers for Apparel Businesses
Ready-to-press transfers can help apparel businesses offer more products without operating a complete DTF printing system in-house.
Businesses can order transfers and apply them as customer orders arrive. This supports:
- Lower equipment investment
- Short production runs
- Personalized apparel
- Multiple garment colors
- Fast product testing
- Seasonal merchandise
- Local business uniforms
- Online clothing collections
Visit Fast DTF Transfer to explore transfer options for T-shirts, hoodies, team apparel, events, and branded merchandise.
Frequently Asked Questions
Can DTF transfers be applied to both T-shirts and hoodies?
Yes. DTF transfers can be applied to compatible T-shirts, hoodies, sweatshirts, and other garments. Hoodie applications may require additional preparation because of thick fabric, seams, pockets, and zippers.
What fabrics work with DTF transfers?
DTF transfers are commonly used on cotton, polyester, cotton-polyester blends, fleece, denim, and other compatible textiles. Test heat-sensitive or specialty fabrics before beginning full production.
What size DTF transfer should I use for a T-shirt?
The correct size depends on the shirt size, artwork proportions, and print location. Measure the available print area and order the transfer at its intended final dimensions.
Can I apply a DTF transfer over a hoodie pocket?
Applying a transfer directly over a thick pocket seam can cause uneven pressure. Position the design above the pocket or use a pressing pillow to create a level pressing area when the garment construction allows it.
Do I need to pre-press the garment?
A brief pre-press is often recommended to remove moisture and wrinkles. Follow the application instructions supplied with your transfer.
Should DTF transfers be peeled hot or cold?
The correct peel method depends on the transfer film and production process. Some transfers require hot peeling, while others require warm or cold peeling. Always follow the supplier's directions.
Can I use an iron instead of a heat press?
A professional heat press generally provides more consistent temperature, pressure, and surface coverage than a household iron. This makes it more suitable for dependable commercial results.
How long do DTF transfers last?
Durability depends on transfer quality, correct application, garment material, and washing habits. Properly applied transfers can remain vibrant and flexible through repeated wear and washing.
Are glitter DTF transfers applied the same way?
The basic process is similar, but specialty glitter transfers may require different temperature, pressure, time, or peeling instructions. Follow the directions supplied with the product.
Where can I order custom DTF transfers for shirts and hoodies?
You can order custom DTF transfers by size and explore specialty options from Fast DTF Transfer.
Order DTF Transfers for T-Shirts and Hoodies
Applying DTF transfers successfully requires the correct artwork, size, placement, heat, pressure, peeling method, and garment preparation. T-shirts provide a relatively flat pressing surface, while hoodies may require pressing pillows and additional attention around pockets, seams, zippers, and thick fleece.
Measure the garment carefully, use high-quality artwork, and follow the application instructions supplied with every transfer. Testing unfamiliar materials before a full production run can help prevent wasted garments and inconsistent results.
Create Professional Custom Apparel
Order ready-to-press transfers for T-shirts, hoodies, uniforms, branded apparel, and custom merchandise.