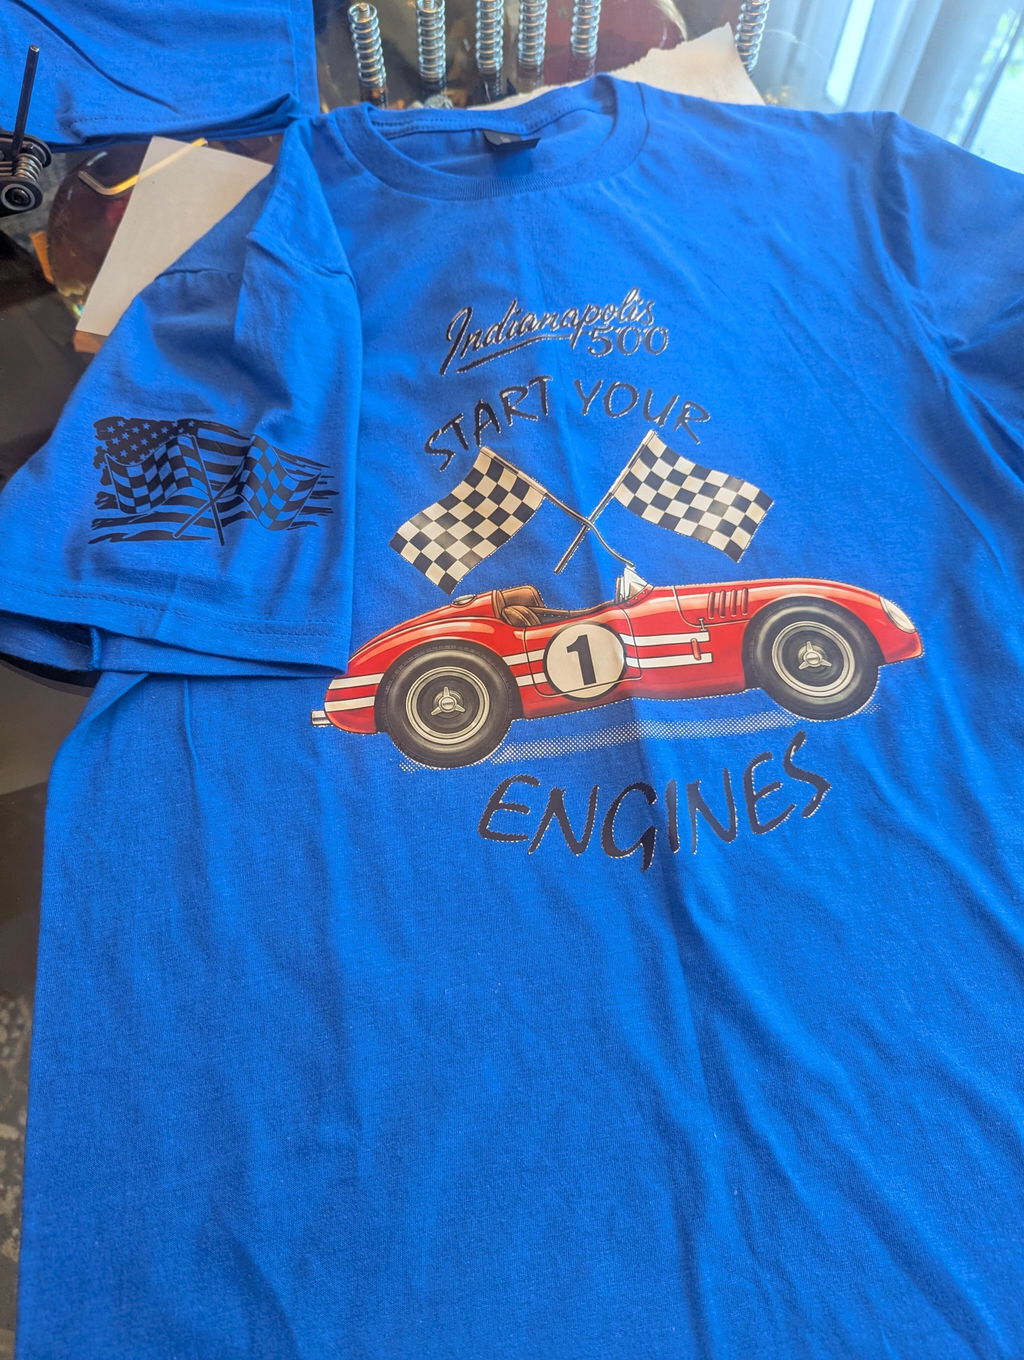
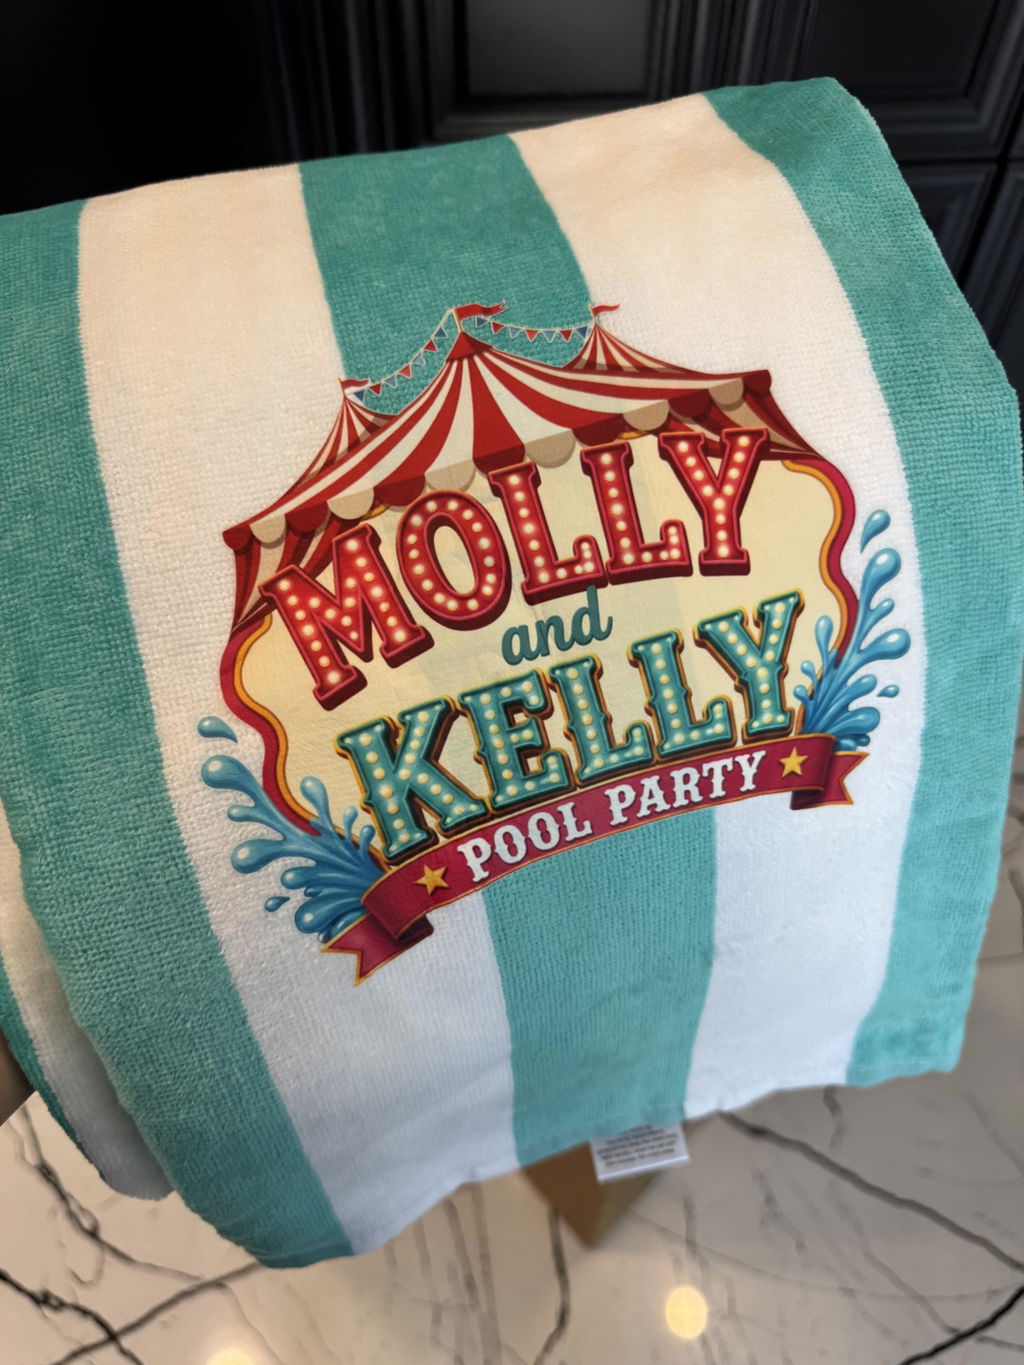
Common DTF transfer mistakes can turn a professional design into a print with weak adhesion, lifting edges, faded colors, visible press marks, or poor wash durability. Most problems can be prevented by using high-quality artwork, preparing the garment correctly, and following the recommended pressing instructions.
A successful DTF application depends on more than temperature alone. Artwork resolution, transfer size, garment moisture, pressure, peeling method, and fabric type all affect the final result.
This guide explains the most common DTF transfer mistakes and provides practical steps to help you produce cleaner, brighter, and longer-lasting custom apparel.
What Is a DTF Transfer?
Direct-to-film printing is an apparel-decoration process in which a design is printed onto a special film. Adhesive powder is applied and cured before the design is transferred to fabric with heat and pressure.
You can learn more about the general process through this overview of direct-to-film printing.
DTF transfers are commonly used on T-shirts, hoodies, sweatshirts, tote bags, uniforms, workwear, and promotional apparel.
Visit Fast DTF Transfer to explore professional printing solutions, or browse the complete DTF transfers collection for ready-to-press options.
1. Using Low-Resolution Artwork
Low-resolution artwork is one of the most common DTF transfer mistakes. A design may look clear on a phone or computer screen but print with blurry text, pixelated edges, or missing details when enlarged.
Screenshots and small internet images usually do not contain enough information for professional printing.
How to Avoid This Mistake
- Prepare the artwork at its final print dimensions.
- Use a transparent PNG or high-resolution PDF.
- Use approximately 300 DPI for raster artwork.
- Use vector files when available and supported.
- Inspect small text, edges, gradients, and shadows before uploading.
2. Forgetting to Remove the Background
An unwanted white or colored background may print as part of the transfer. This can leave a visible rectangular area around the design, especially on dark garments.
This issue often occurs with JPG files because the format does not support transparent backgrounds.
How to Avoid This Mistake
- Use a PNG file with a transparent background.
- Check the design against both light and dark digital backgrounds.
- Remove hidden pixels and unwanted white edges.
- Keep intentional white elements within the design.
3. Ordering the Wrong Transfer Size
A transfer can be printed correctly and still look unsuitable when its dimensions do not match the garment or placement area.
A design prepared for an adult shirt may be too wide for youth apparel. A large hoodie graphic may cross a pocket, zipper, seam, or drawcord area.
How to Avoid This Mistake
- Measure the printable area before ordering.
- Consider adult, youth, and child garment sizes.
- Check collars, seams, pockets, buttons, and zippers.
- Confirm whether the design is for the chest, sleeve, front, or back.
- Print a paper template at the intended size and place it on the garment.
4. Ignoring Transparent Padding
Transparent padding is the empty space around the visible artwork inside the file. Although this area does not print, it can affect sizing, placement, and gang sheet efficiency.
A file described as ten inches wide may contain only eight inches of visible artwork when excessive transparent borders are present.
How to Avoid This Mistake
Crop the canvas close to the visible design. Check that shadows, glow effects, and small details remain intact before confirming the final dimensions.
5. Failing to Pre-Press the Garment
Garments may contain moisture, wrinkles, or finishing residue. Pressing a transfer onto an unprepared garment can create uneven contact and may weaken adhesion.
How to Avoid This Mistake
Pre-press the garment briefly before positioning the transfer. A short pre-press can remove moisture, flatten wrinkles, warm the application area, and create a smoother surface.
6. Using the Wrong Heat-Press Temperature
Too much heat can damage fabric, alter garment color, or create unwanted shine. Insufficient heat may prevent the adhesive from bonding correctly.
There is no single temperature that automatically works for every transfer, fabric, and heat press.
How to Avoid This Mistake
- Follow the instructions supplied with the transfer.
- Confirm the required temperature and pressing time.
- Check the recommended pressure.
- Confirm whether the product requires a hot, warm, or cold peel.
- Test the heat press for temperature consistency.
7. Applying Too Little or Too Much Pressure
Low pressure can leave parts of the adhesive insufficiently bonded. Excessive pressure can flatten the transfer, leave platen marks, distort the fabric, or damage textured materials.
How to Avoid This Mistake
Use the recommended pressure and ensure that the complete design receives even contact. Avoid pressing directly over thick seams, buttons, pockets, or zippers.
A suitable pressing pillow or pad can help raise the application area above nearby garment features.
8. Guessing the Pressing Time
Pressing for too little time can cause poor adhesion. Excessive pressing exposes the garment and design to unnecessary heat.
How to Avoid This Mistake
Use the heat press timer rather than counting manually. Begin timing only after the press is fully closed and the correct pressure has been applied.
Record successful settings for different fabrics and garment types so the same results can be repeated.
9. Peeling the Film Incorrectly
Some DTF transfers require a hot peel, while others require a warm or cold peel. Removing the carrier at the wrong stage can cause parts of the design to remain on the film or lift from the fabric.
How to Avoid This Mistake
- Confirm the required peel method before pressing.
- Keep the garment flat during peeling.
- Peel smoothly and consistently.
- Watch small text and detailed edges carefully.
- Stop if any part of the design begins to lift.
10. Skipping the Second Press
A second press can improve the surface finish and help create consistent contact between the transfer and fabric.
Skipping this step may leave the design with an unfinished texture or weaker edges when the product instructions recommend repressing.
How to Avoid This Mistake
After removing the carrier film, cover the transfer with the recommended protective or finishing sheet. Complete the second press using the instructed time and settings.
11. Pressing Over Seams, Pockets, or Zippers
A heat press requires even contact across the entire application area. Raised garment features may prevent part of the transfer from receiving sufficient pressure.
Avoid positioning designs directly over:
- Thick seams
- Hoodie pockets
- Zippers
- Buttons
- Drawcord hardware
- Heavy stitching
Use a pressing pillow when the print area needs to be raised above nearby seams or garment features.
12. Stretching the Garment While It Is Hot
The adhesive remains warm immediately after pressing. Stretching, folding, or pulling the garment too soon may distort the print or weaken its edges.
How to Avoid This Mistake
Keep the garment flat while it cools. Avoid stacking hot garments because trapped heat can create unwanted marks or affect the printed surface.
13. Applying Transfers to Unsuitable Fabric
DTF transfers work with many common garment materials, but fabrics do not react to heat in the same way.
Some synthetic fabrics may scorch, shrink, become shiny, or experience dye migration. Water-resistant coatings and textured materials may also reduce adhesion.
How to Avoid This Mistake
Check the garment composition and test an inconspicuous area before full production, especially when working with polyester, nylon, coated fabrics, performance apparel, or sublimated garments.
14. Failing to Test Before a Large Order
Starting a large order without testing can repeat the same application problem across dozens of products.
Inspect the test item for:
- Edge adhesion
- Fine-detail transfer
- Color accuracy
- Fabric discoloration
- Press marks
- Surface texture
- Stretch response
- Peel performance
15. Touching the Adhesive Side
Touching the adhesive area can introduce oil, dust, lint, moisture, or dirt. Contamination may interfere with adhesion or create visible imperfections.
How to Avoid This Mistake
Handle transfers by the carrier-film edges and keep them inside clean packaging until they are ready to be applied.
16. Storing Transfers Incorrectly
Humidity, high temperatures, sunlight, and dust may affect unused transfers. Poor storage is especially risky when transfers are kept for future production.
Store transfers:
- Flat whenever possible
- Inside protective packaging
- In a clean and dry area
- Away from direct sunlight
- Away from excessive heat and humidity
- Without tight folds or sharp bends
17. Washing the Garment Too Soon
The transfer needs time to settle after application. Washing too soon may reduce long-term performance.
For better garment care:
- Follow the recommended waiting period.
- Turn the garment inside out.
- Use cold or cool water.
- Select a gentle wash cycle.
- Avoid bleach and harsh chemicals.
- Use low dryer heat or air-dry.
- Do not iron directly over the design.
18. Using the Same Setting for Every Garment
A setting that works well on a cotton T-shirt may not be suitable for a thick hoodie or heat-sensitive polyester shirt.
Garment thickness, construction, texture, coating, and fabric composition all affect the pressing process.
| Garment Type | Temperature | Time | Pressure | Peel Method | Second Press |
|---|---|---|---|---|---|
| Cotton T-shirt | Supplier setting | Supplier setting | Recommended level | Confirm instructions | As directed |
| Polyester shirt | Tested setting | Tested setting | Tested level | Confirm instructions | As directed |
| Hoodie | Tested setting | Tested setting | Adjust for thickness | Confirm instructions | As directed |
| Tote bag | Tested setting | Tested setting | Recommended level | Confirm instructions | As directed |
Always use the transfer provider’s instructions as the starting point and test each new garment type.
A Reliable DTF Transfer Application Checklist
- Inspect the artwork and transfer before application.
- Confirm the final transfer dimensions.
- Read the supplied application instructions.
- Check the garment material and construction.
- Test heat-sensitive or coated fabrics.
- Pre-press the garment to remove moisture and wrinkles.
- Position the design carefully.
- Confirm temperature, time, and pressure.
- Press on a flat and even surface.
- Follow the correct peel method.
- Complete the second press when required.
- Allow the garment to cool before handling.
- Inspect all edges and small design details.
- Record the successful settings.
- Provide washing instructions to the customer.
Why Professional DTF Transfers Matter
A careful application process works best when it begins with a properly prepared transfer. Clean film, accurate sizing, strong artwork, consistent adhesive coverage, and clear instructions all contribute to dependable results.
Choose the Right Transfer for Your Project
Fast DTF Transfer provides ready-to-press options for custom apparel, repeat orders, small businesses, and larger production runs.
Compare gang sheets, transfers by size, specialty transfers, and other apparel-printing solutions before placing your order.
Final Thoughts
The most common DTF transfer mistakes are preventable. Begin with high-resolution artwork, order the correct size, prepare the garment, and follow the recommended temperature, time, pressure, and peel instructions.
Test each new garment type before full production. Keep your equipment clean and record the settings that create successful results.
A consistent workflow reduces waste, protects garments, and helps every DTF transfer look professional.
Order Professional DTF Transfers
Explore ready-to-press DTF transfers for T-shirts, hoodies, uniforms, promotional apparel, and custom clothing projects.
Shop DTF Transfers Visit Fast DTF TransferFrequently Asked Questions
Why is my DTF transfer not sticking?
Poor adhesion may result from insufficient heat, pressure, or pressing time. Moisture, raised seams, contamination, unsuitable fabric, or an incorrect peel method may also cause lifting.
Why did my DTF transfer crack after washing?
Cracking may result from incorrect application, washing too soon, harsh laundry products, excessive dryer heat, or stretching the garment while the transfer is still hot.
Should I pre-press a shirt before applying a DTF transfer?
Yes. A short pre-press can remove moisture and wrinkles while creating a smoother and more consistent application surface.
Can I apply DTF transfers to polyester?
DTF transfers can be applied to many polyester garments, but the fabric should be tested first. Excessive heat may cause shine, shrinkage, scorching, or dye migration.
Do DTF transfers need a second press?
Many DTF application workflows recommend a second press after the carrier film is removed. Follow the instructions supplied with your specific transfer.
How long should I wait before washing a DTF-printed garment?
Follow the waiting period recommended by the transfer provider. Turning the garment inside out and using a cool, gentle wash can help protect the design.
Why are the edges of my DTF transfer lifting?
Lifting edges may be caused by uneven pressure, insufficient heat, pressing over seams, incorrect peeling, garment moisture, or contamination on the adhesive surface.
Can a household iron be used for DTF transfers?
A professional heat press provides more consistent temperature and pressure. A household iron may not heat the entire design evenly, which can lead to weak adhesion.
How can I prevent heat-press marks?
Use suitable pressure, avoid excessive heat, protect sensitive fabric, and ensure seams or raised garment areas do not create uneven contact.
Should every new garment be tested before production?
Yes. Testing helps identify fabric reactions, pressure requirements, dye migration, peel behavior, and adhesion problems before a full order is produced.